How to Organize a Storage Unit for Quick Access
Smart Strategies to Save Time, Space, and Stress
If you’ve ever opened your storage unit and couldn’t find what you needed—or worse, had to dig through a maze of boxes just to reach a seasonal item—you’re not alone. At Goodfellas Storage, we’ve spent decades helping tenants across the country optimize their space. Whether you’re storing during a move, renovation, or downsizing, learning how to organize your storage unit properly can save you time, money, and stress.
Why Storage Unit Organization Matters
An unorganized storage unit leads to:
- Wasted space (which means you may be paying for more square footage than you need)
- Lost items (or buying duplicates you already own)
- Damaged belongings (from stacking or storing incorrectly)
- Frustration during every visit
With a smart system in place, you can easily access your items anytime and even downsize to a smaller unit in the future—saving money along the way.
1. Start with the Right Storage Unit Size
Before you even pack, selecting the right unit size is key. Too small and it turns into a game of Tetris. Too large and you’re paying for air.
🔗 Use Our Storage Size Guide to choose the ideal unit based on your item types, volume, and access needs.
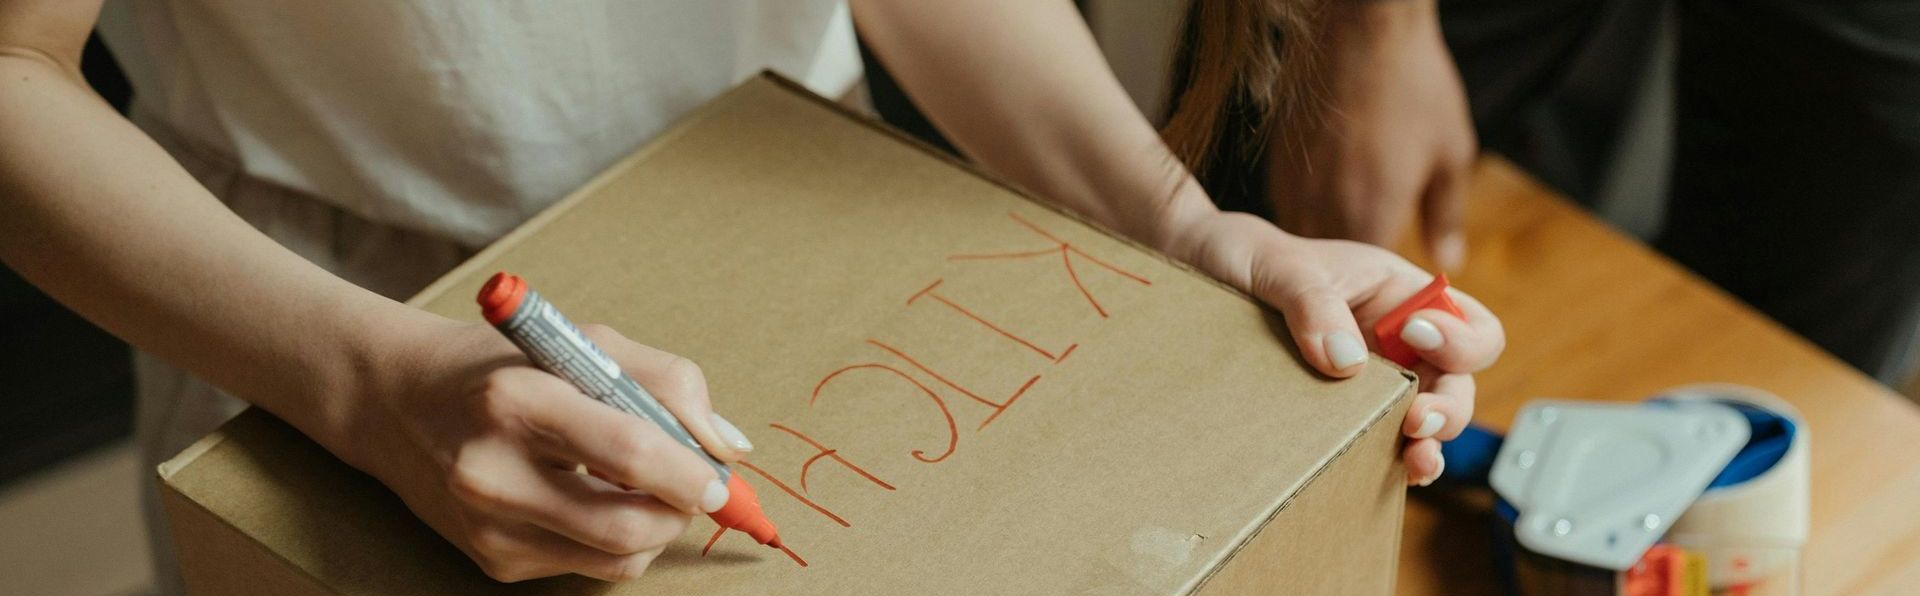
2. Label Every Box (Clearly)
Use large, legible labels on multiple sides of every box. Include:
- Room or category (e.g., Kitchen, Holiday Décor)
- General contents (e.g., Plates & Bowls, Christmas Lights)
- Priority (e.g., Frequently Used, Seasonal)
Pro Tip: Use color-coded tape or markers for quick category recognition.
3. Pack Strategically Based on Frequency of Use
Not everything needs to be buried. When you organize your storage unit, place frequently accessed items near the front—things like:
- Tools
- Seasonal decorations
- Baby gear
- Business inventory
Items you rarely use (e.g., archived documents, keepsakes) should go toward the back or bottom.
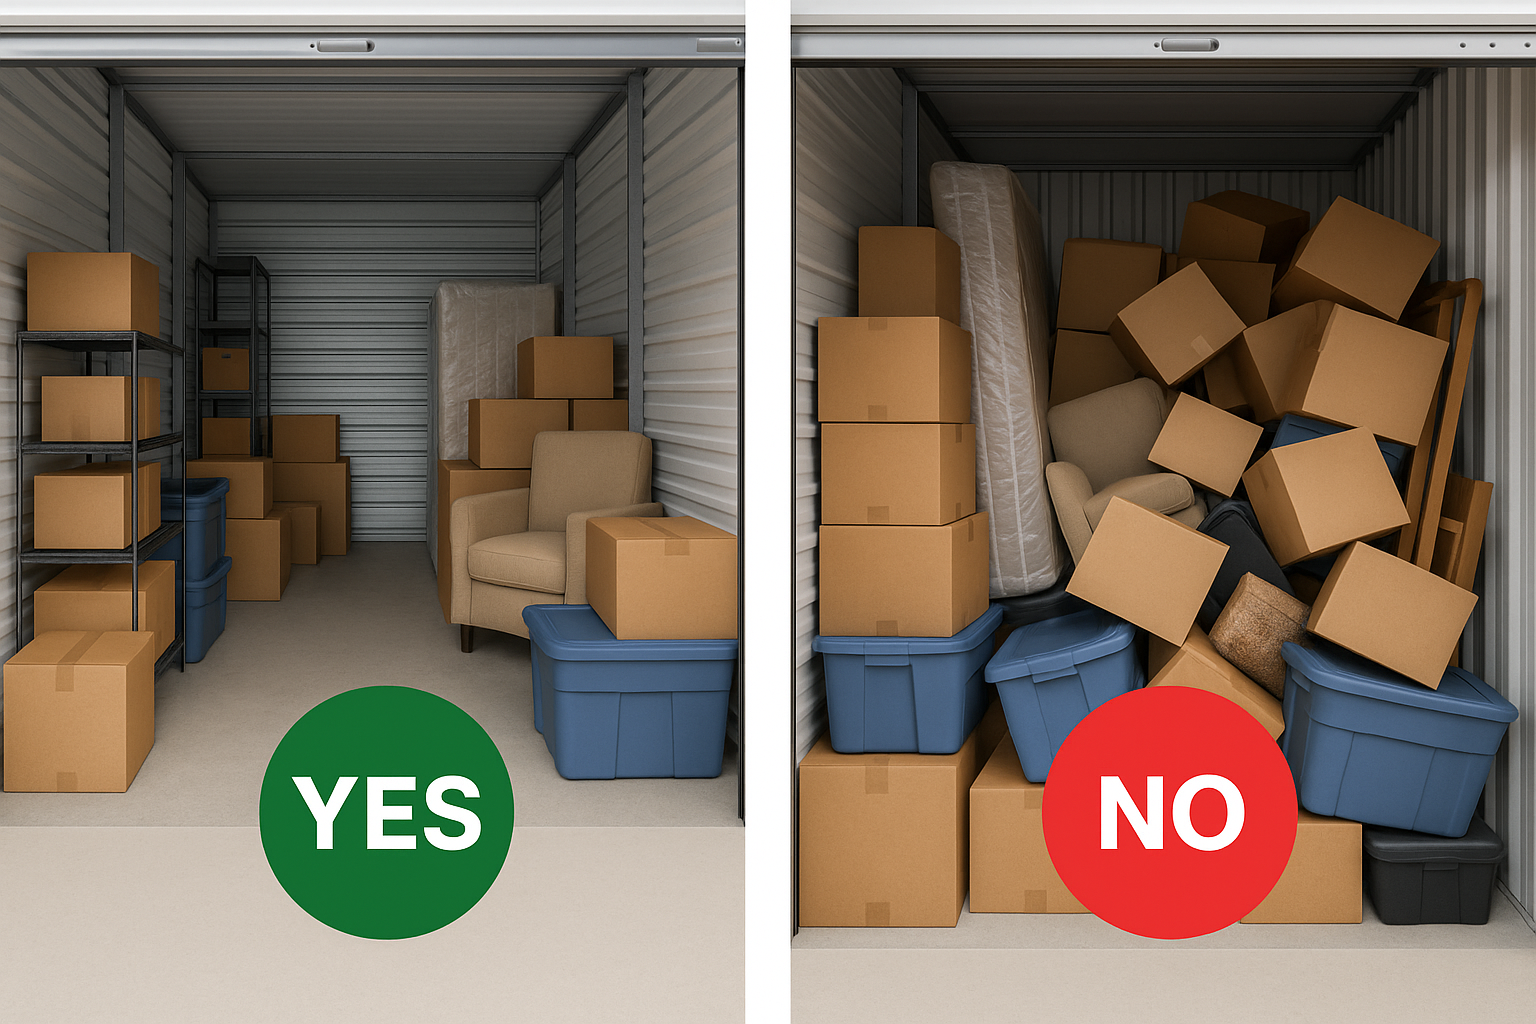
4. Create Aisles and Access Lanes
One of the biggest mistakes people make? Packing wall-to-wall without access paths.
Leave a narrow walkway down the middle of your unit, especially in 10x10 or larger sizes. This lets you access the back without unloading half your unit.
5. Use Shelving to Maximize Vertical Space
Installing freestanding shelving along the walls transforms your unit into an organized mini-warehouse. Use shelves for:
- Fragile items
- Plastic bins
- Small appliances
- Office supplies
Stacking boxes 6 feet high without support invites tipping, crushing, or accidents.
6. Use Clear Plastic Bins When Possible
While cardboard boxes are cheaper, clear plastic bins offer a major advantage: visibility. You can quickly scan contents without digging through boxes.
Even better? They’re waterproof, pest-resistant, and stackable.
7. Map It Out
Create a rough sketch or use your phone to photograph the layout before you shut the unit door. Keep a master inventory either in the cloud or printed, so you never forget what’s inside.
8. Protect What Matters
No matter how well you organize, damage or theft can still happen without the right protection. Our Tenant Protection Plans offer coverage for:
- Fire or smoke damage
- Water intrusion
- Theft or burglary
- Pest damage
🔗 Learn About Tenant Protection Options
Final Tip: Reassess Every Few Months
Set a calendar reminder to reassess your storage unit every 3–6 months. Rotate out seasonal items, purge anything you no longer need, and make sure everything is still easily accessible.
Need Help? We’re Storage Experts.
Whether you're new to storage or managing multiple units, we’re here to help. At Goodfellas Storage, we’ve served thousands of customers nationwide with secure, affordable units and expert advice.
🔗
Explore Our Storage Size Guide
🔗
Get Tenant Protection for Peace of Mind